Related Topics
- [AiMesh] Can I set up wired connection between AiMesh routers (Ethernet backhaul)?
- [AiMesh] How to setup AiMesh system (ASUS Router App - Android)?
- [AiMesh] How to setup AiMesh system (ASUS Router App - iOS)?
- [AiMesh] What to do if AiMesh synchronization fail?
- [AiMesh] Why cannot I search any AiMesh node?
- [AiMesh2.0] AiMesh 2.0 Web GUI - Introduction
- [AiMesh] How to Improve the Signal Quality between your AiMesh Router and AiMesh Node?
[AiMesh] How to setup AiMesh system (Web GUI)?
To provide you more detailed instruction, you can also click ASUS Youtube video link below to know more about How to setup AiMesh system
For more information about AiMesh, please go to: https://170.p.syniva.es/Microsite/AiMesh/en/index.html
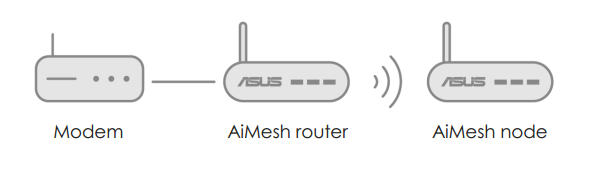
Step 1: Before you start to set up ASUS AiMesh, be sure to have the following devices available
(1) Two ASUS routers which support AiMesh. You can find the supported model list at ASUS product page.
(2) Assign one router as the AiMesh router, and the other router as AiMesh node.
Note:
- The router with the highest specifications should be used as the AiMesh router.
- The best experience is the mesh system of 5 routers. (1 AiMesh router + 4 AiMesh nodes).
(3) Position AiMesh router and the node within 1 -3 meters with each other during the setup process.
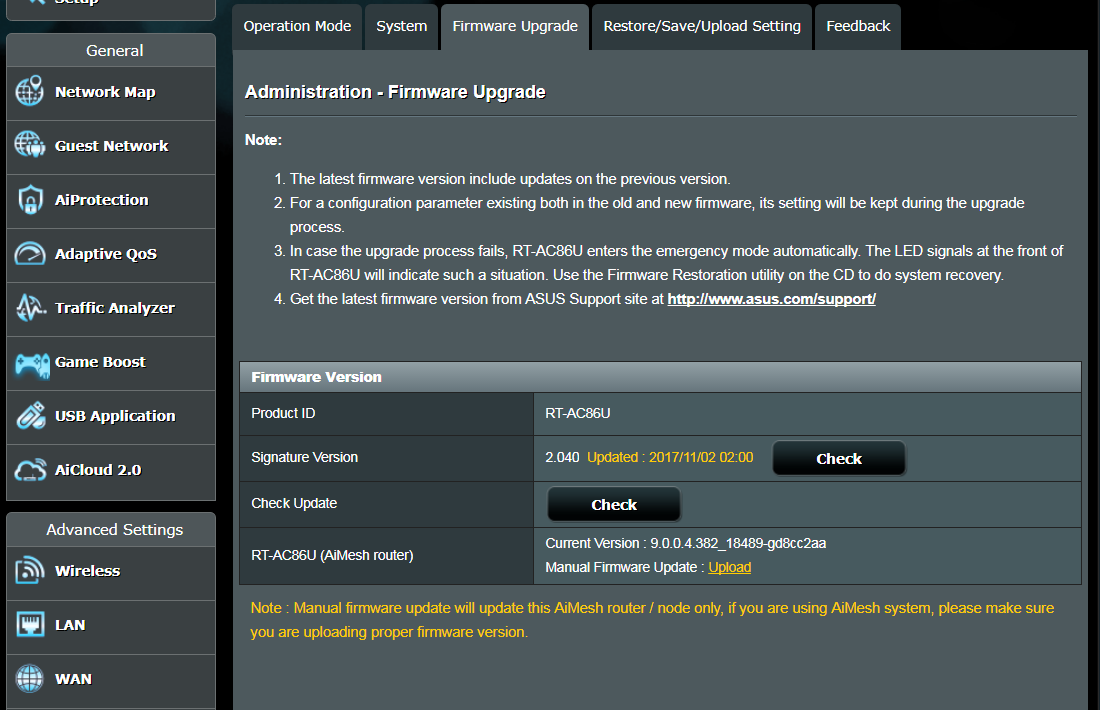
Step 2: Upgrade the firmware of the main router
(1) Plug in the power adapter and press the power button at the back of your router, check the LED lights to ensure the hardware connection is ready.
(2) Connect your laptop to the router via wired or WiFi connection, open the browser and and enter your router LAN IP or router URL http://www.asusrouter.com to the WEB GUI.
(3) Go to Administration -> Firmware Upgrade, update all routers firmware to the latest version
Please refer to the FAQ [Wireless Router] How to update the firmware of your router to the latest version ? (WebGUI)
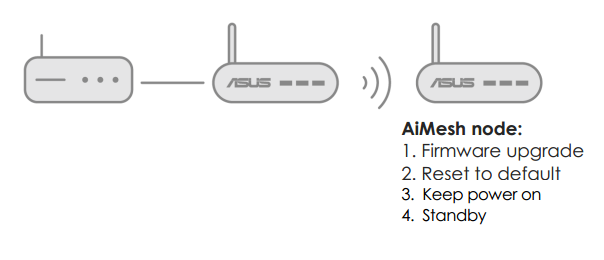
Step 3: Reset the AiMesh node to factory default
(1) Press the reset button of AiMesh node for at least 5 seconds, then release when the power LED is slowly flashing.

(2) When the reset process is completed, allow the AiMesh node to stay powered on and in stand by for AiMesh settings to begin.
Step 4: Setting up AiMesh router
(1) Connect your modem to the AiMesh router with network cable.
(2) Plug in the power adapter and press the power button at the back of your router. Check the LED lights to ensure the hardware connection is ready.
(3) Connect your PC to the AiMesh router via wired or WiFi connection
a. Use an Ethernet cable to connect one of the LAN port of your AiMesh router and your PC.
b. Search the network name (SSID) of your AiMesh router from your PC via Wi-Fi and connect it. Always make sure your PC has connected to the network name of your AiMesh router.
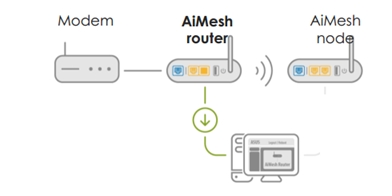
(4) Open the browser and and enter your router LAN IP or router URL http://www.asusrouter.com to the WEB GUI.
(5) Go to Network Map page, click AiMesh icon and then Search for your extending AiMesh node.
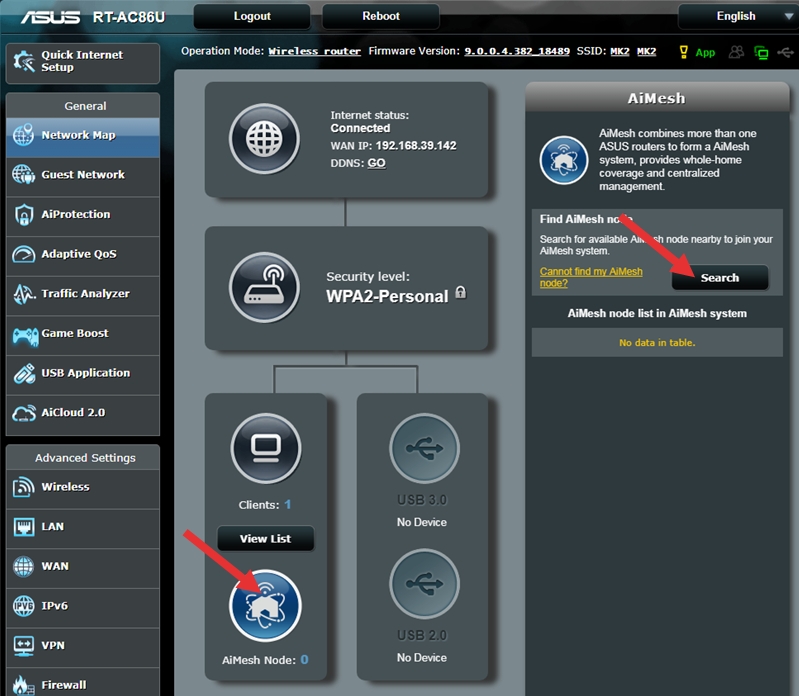
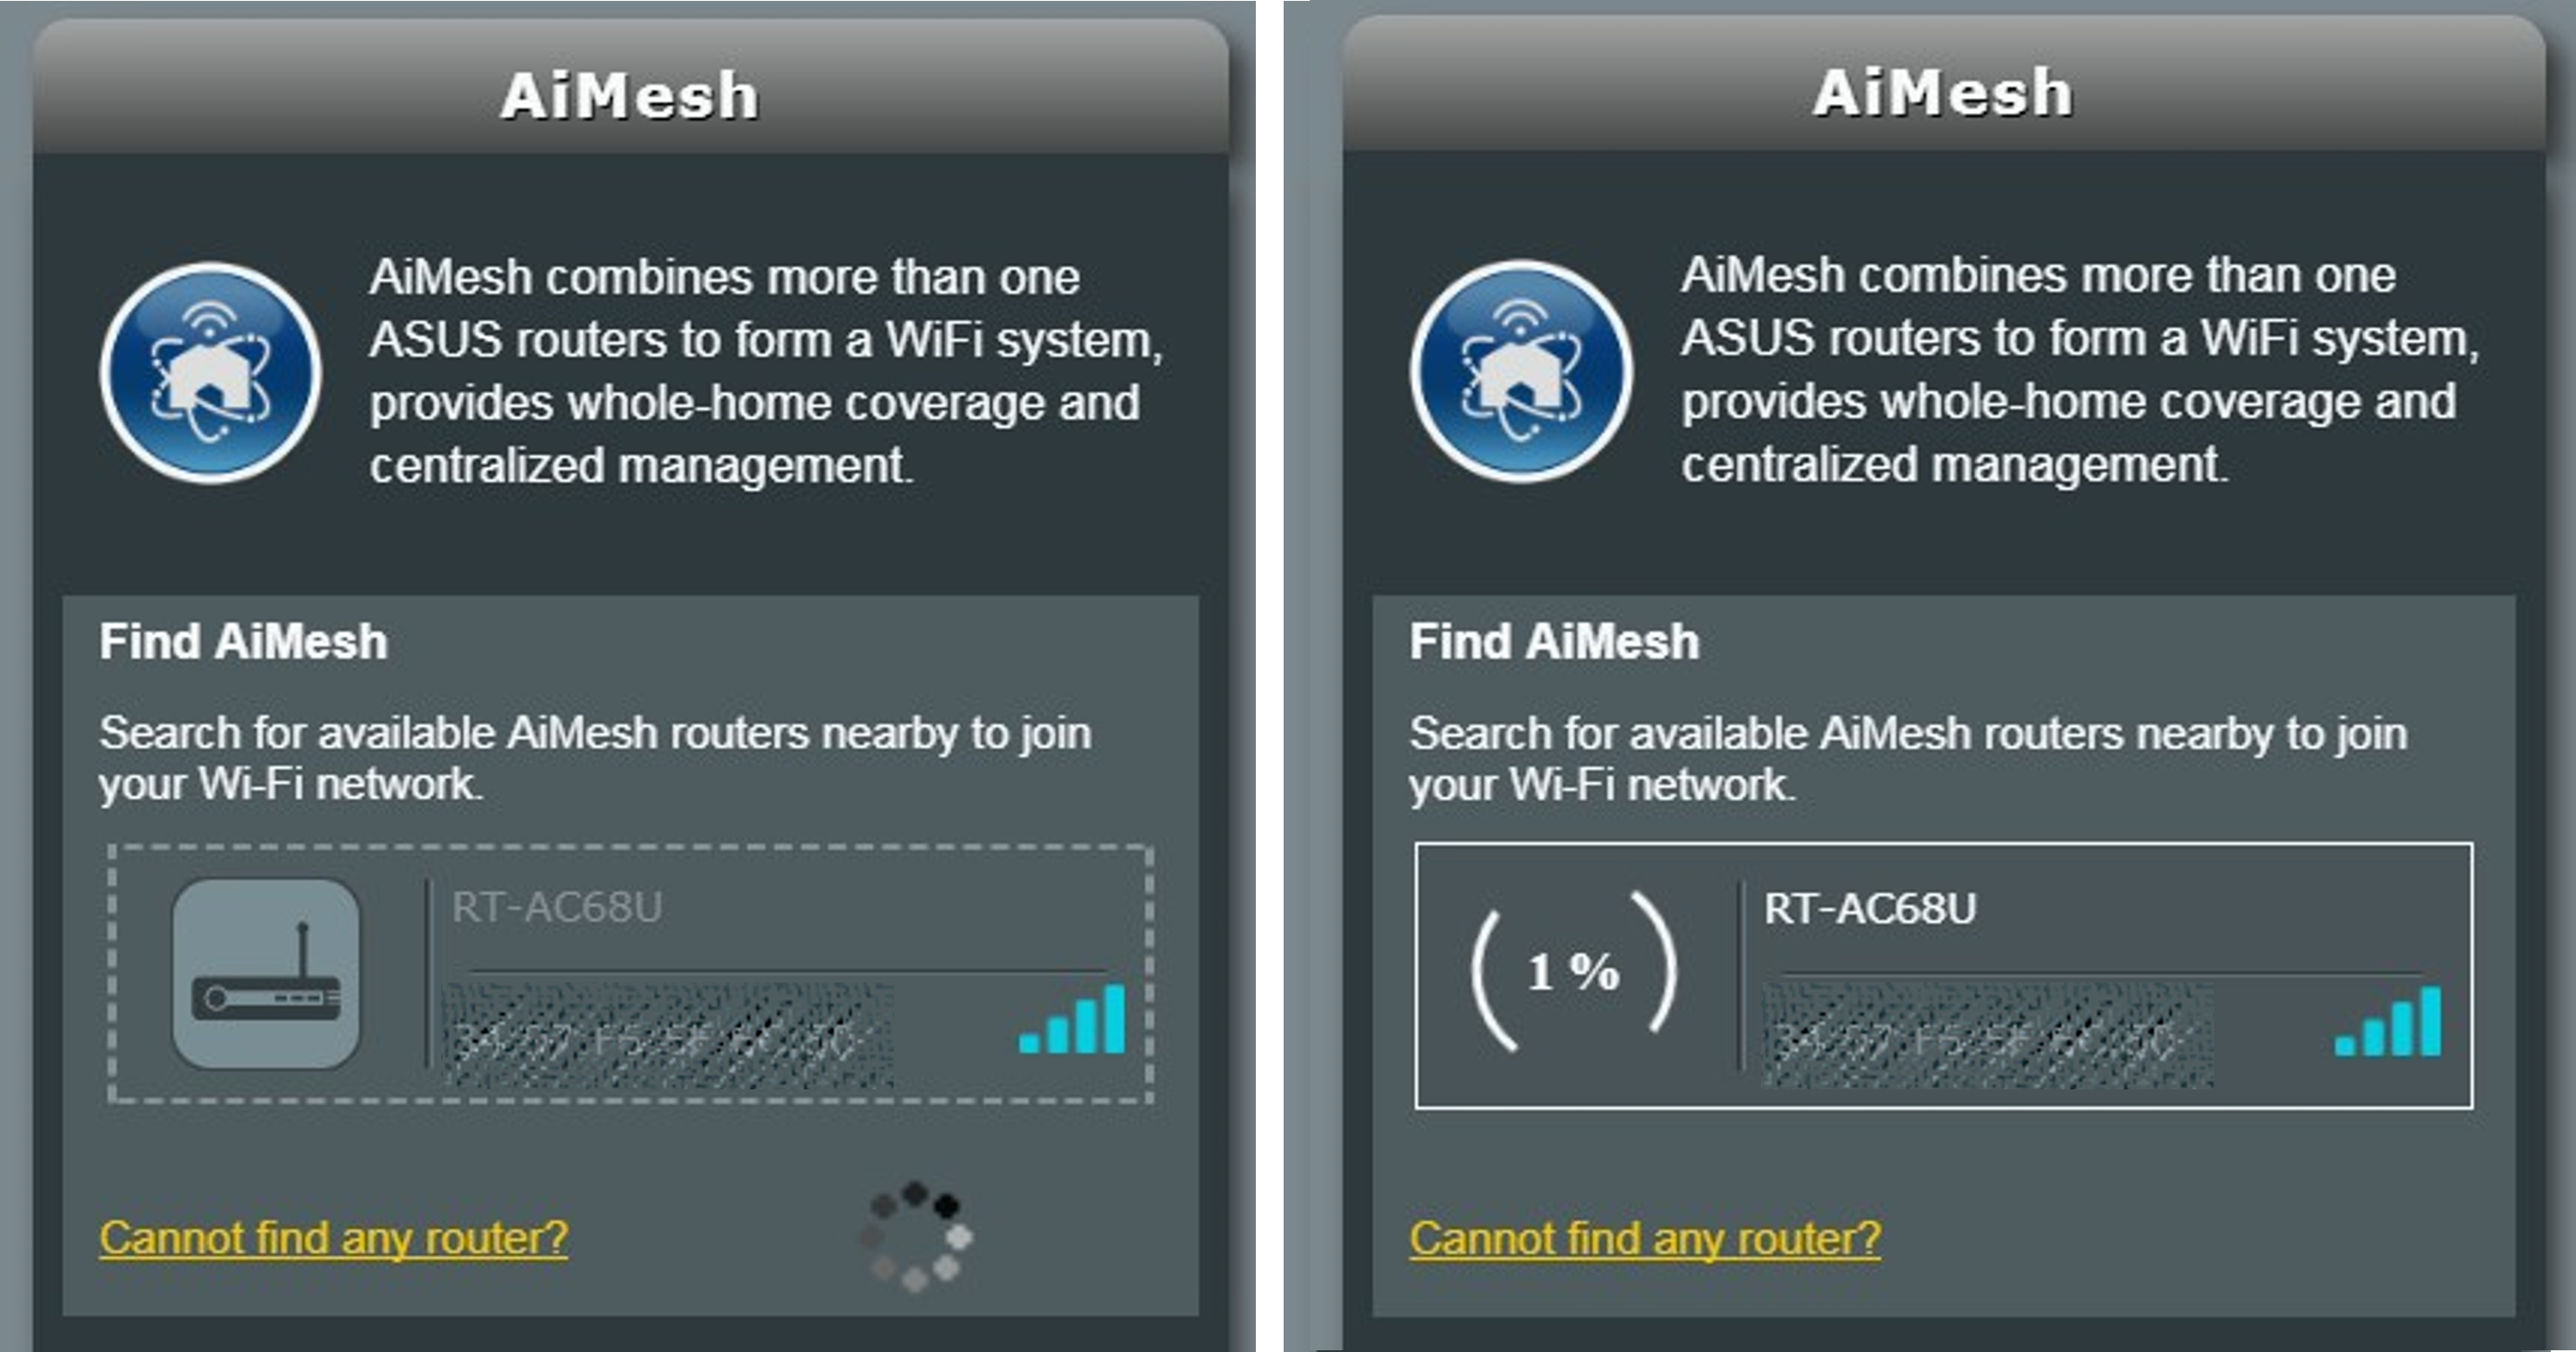
(6) After clicking Search, the device will search AiMesh node automatically. When AiMesh node shows on this page, click to add it to AiMesh system. It's recommended to place all routers in close proximity when synchronizing for the first time in case of interference.
Step 5: Place the AiMesh router and node at the best location
Now it’s time to move your AiMesh node to a preferable location. You can monitor how many devices are connected to the AiMesh node and how good the reception is from the AiMesh router. You can access the information by using the ASUS Router App or web GUI.
It's strongly recommended that you put the AiMesh node between your AiMesh router and your existing dead zone.
Position AiMesh router and node aimed high and in open space.

Note:
If the router cannot find any AiMesh node nearby or synchronization fails, please follow the steps below and try again.
1. Confirm your AiMesh node is powered on.
2. Confirm your AiMesh node is upgraded to AiMesh-supported firmware.
3. Be sure your AiMesh node is reset to default.
4. Move your AiMesh node within 1-3 meters of the AiMesh router.
5. If connecting to the AiMesh node wirelessly fails, please try using a wired connection.
6. Be sure the WPS function is enabled on your AiMesh router.
Please note: When Ethernet Backhaul Mode is enabled, all AiMesh routers and nodes can only be connected via a wired connection.
Please refer to FAQ [AiMesh] What is Ethernet Backhaul Mode/Backhaul Connection Priority in AiMesh System and how to set up in different scenarios?
A message would show when synchronization is completed.
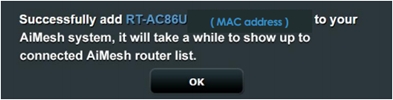
Congratulation! The pages below will now show up when AiMesh node has successfully been added to AiMesh network.

Notes for Setting Up AiMesh with WiFi 7 Wireless Routers
You can mesh up existing AiMesh routers with WiFi 7 routers, however, while enabling MLO on WiFi might cause compatibility issue with existing AiMesh nodes
1. If MLO is enabled on AiMesh Primary router, the node without MLO will not broadcast 6GHz WiFi. For optimal performance with multiple ASUS AiMesh extendable routers, set the one with the highest specifications as the main router.
For scenario 2, it is advised to disable MLO on the AiMesh primary router. Please log in to the ASUS router settings page, go to[Wireless] > [MLO], and click [Enable MLO] to disable this feature (enabled by default).
| AiMesh scenario | AiMesh primary router | AiMesh node | Broadcast 6GHz WiFi |
| Scenario 1 | WiFi7 router(Enable MLO) | WiFi7 router | Supported |
| Scenario 2 | WiFi7 router(Enable MLO) | WiFi6E router | Not Supported |
2. The MLO Backhaul function can help your AiMesh routers and nodes achieve optimal connection bandwidth. In an AiMesh system, if there are multiple WiFi 7 nodes, only the first node can use MLO Backhaul, and MLO Backhaul only supports the same model.
3. If you need to adjust the AiMesh backhaul band, please log in to the AiMesh router settings page, go to [Wireless] > [MLO] > [Backhaul Band]. Changing the backhaul band will restart all routers in the AiMesh system.
FAQ
1. Why Guest network cannot sync and work in AiMesh node?
Guest network broadcast currently only supported from AiMesh router. It is not available in AiMesh node.
There won’t be any guest network option for the AiMesh node(s).
2. Why can’t I set up Guest network/Wireless time schedule under AiMesh node?
All router settings can only be done under the AiMesh router, rather than under AiMesh nodes.
3. Will the AiMesh node (a WiFi 6E router that does not support MLO) have a 6GHz WiFi network after being added to the main AiMesh router that supports WiFi 7 MLO?
If MLO is enabled on AiMesh Primary router, the node without MLO will not broadcast 6GHz WiFi. If you want to disable MLO, log in to the ASUS router settings page, go to[Wireless] > [MLO], and click [Enable MLO] to disable this feature (enabled by default).
4. Why is it that in my WiFi 7 AiMesh system, only the first node can use MLO Backhaul, while the subsequent WiFi 7 nodes cannot utilize MLO Backhaul?
Currently, due to known chipset technology limitations, only the first node can use MLO (Multi-Link Operation) Backhaul.
5. Why can't I find WPA-Enterprise and WPA2-Enterprise in the WiFi encryption authorization method after setting the AiMesh system?
WPA-Enterprise and WPA2-Enterprise wireless encryption methods are not supported in the AiMesh system, and this option appears only after the AiMesh node is removed.
How to get the (Utility / Firmware)?
You can download the latest drivers, software, firmware and user manuals in the ASUS Download Center.
If you need more information about the ASUS Download Center, please refer this link.