[Motherboard] ThunderboltEX 4 Expansion Card Introduction
ASUS ThunderboltEX 4 is a Thunderbolt™ 4 add-on card that provides 40 Gbps bi-directional bandwidth USB4™ device compatibility with DisplayPort™ 1.4 support.
It supports up to five daisy-chained Thunderbolt devices and provides up to 100 watts of USB-C® charging for laptops.
ThunderboltEX 4 Card Input /Output Ports
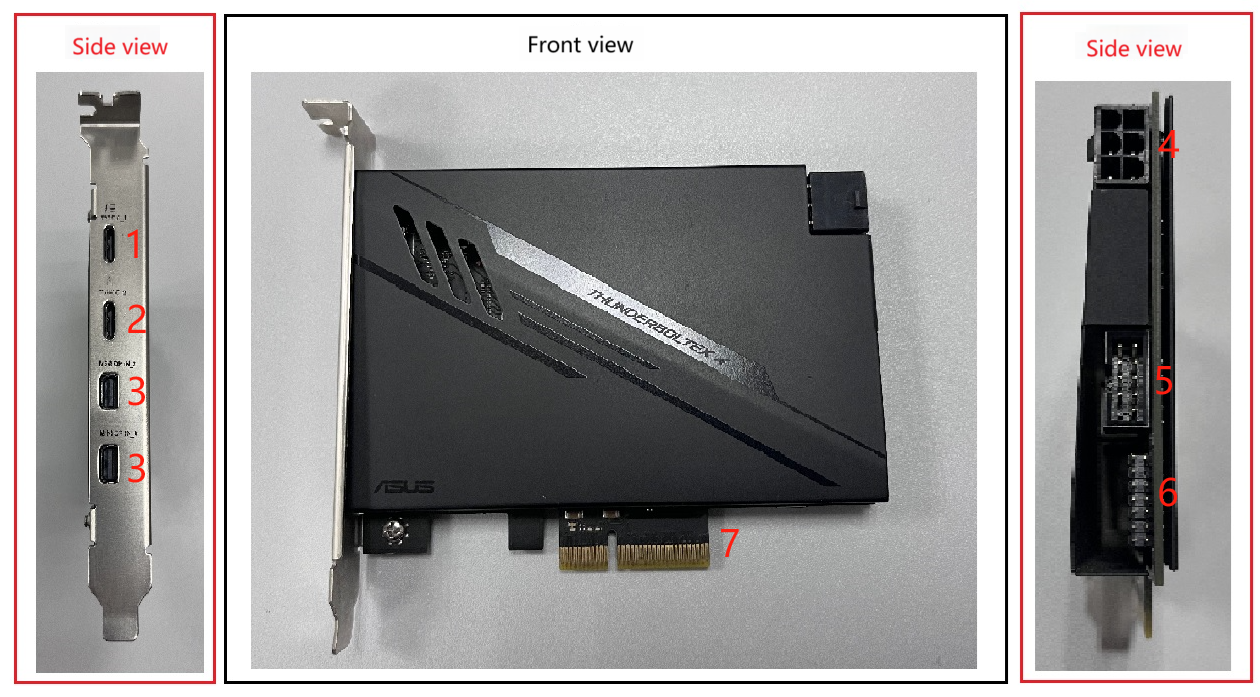
1) Thunderbolt™ 4 USB Type-C® port (Supports up to 20V/5A、100W quick charge)
2) Thunderbolt™ 4 USB Type-C® port (Supports up to 9V/3A、27W quick charge)
3) Mini DisplayPort IN ports
4) 6-pin PCIe power connector
5) USB 2.0 header
6) 14-1 Pin Thunderbolt™ header
7) PCIE 3.0 x4 interface
ThunderboltEX 4 card Package content
1. ThunderboltEX 4 card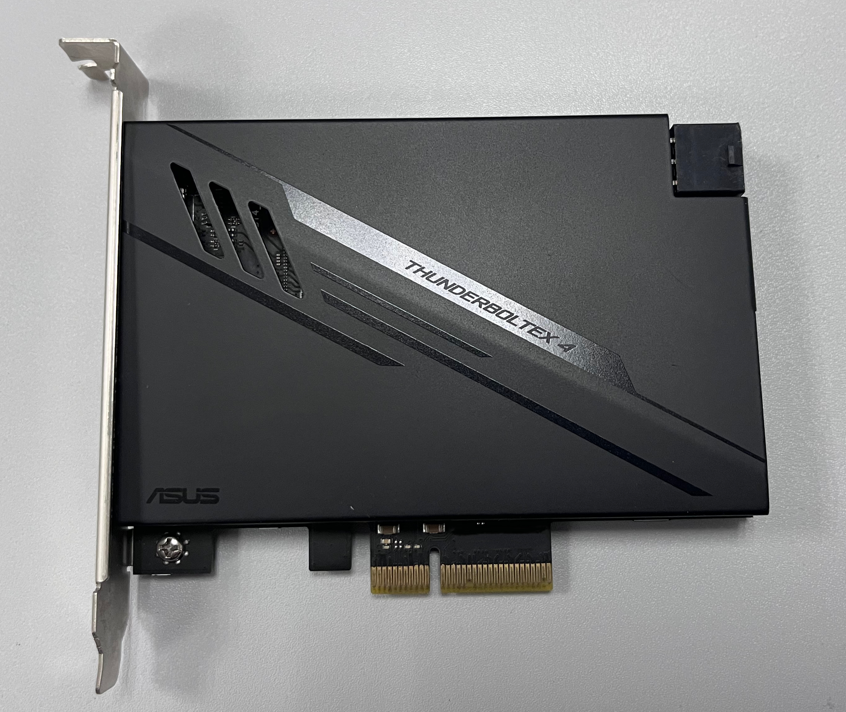
2. Mini DisplayPort cable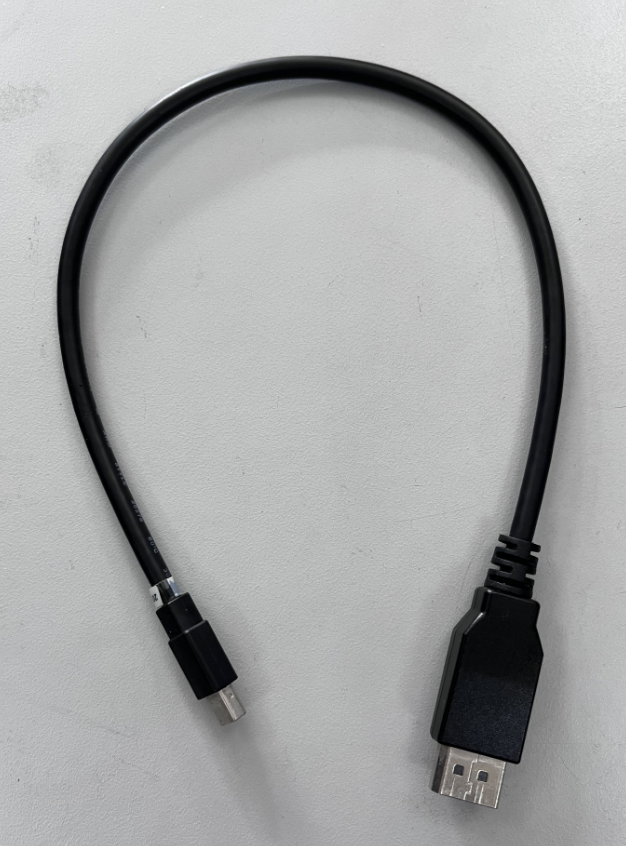
3. USB 2.0 cable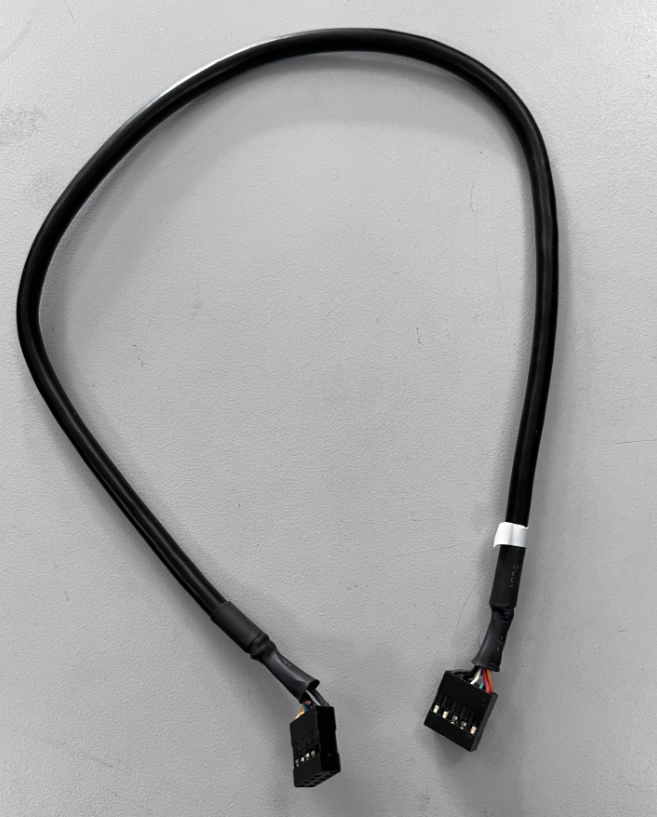
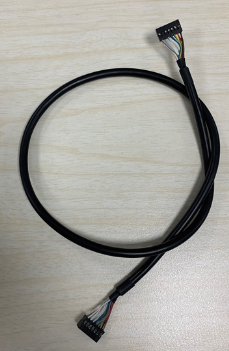
4. 14-1 pin Thunderbolt™ cable
How to install ThunderboltEX 4 Card
1. Shut down the computer. Insert the ThunderboltEX 4 card into PCIe slot.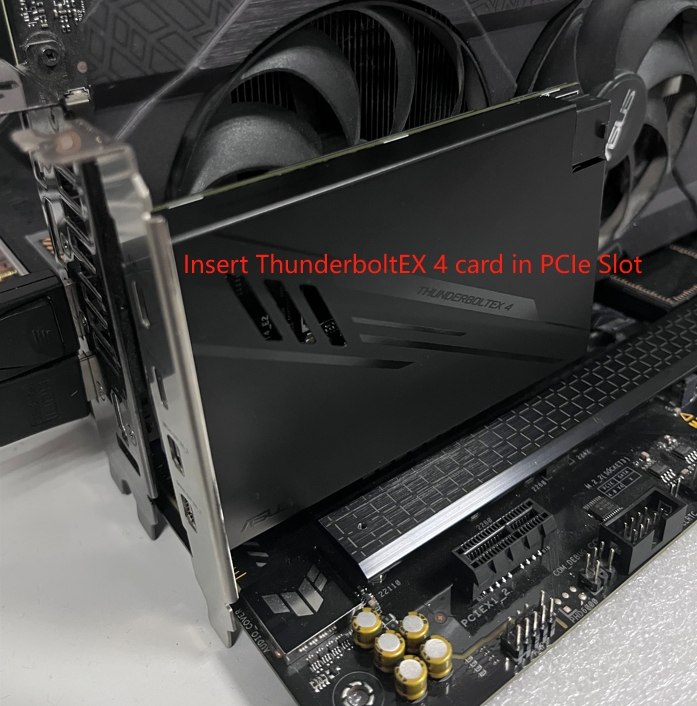
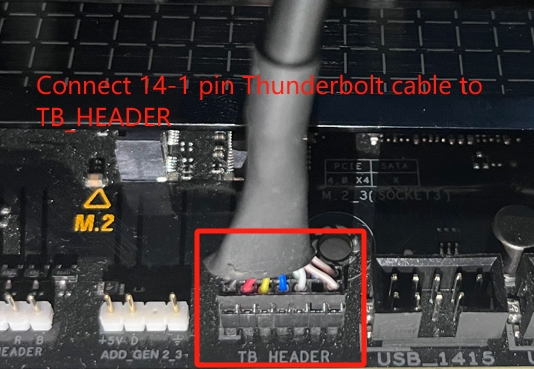
2. Connect the 14-1 pin Thunderbolt cable to the ThunderboltEX 4 Card and to the TB-HEADER on the motherboard. 
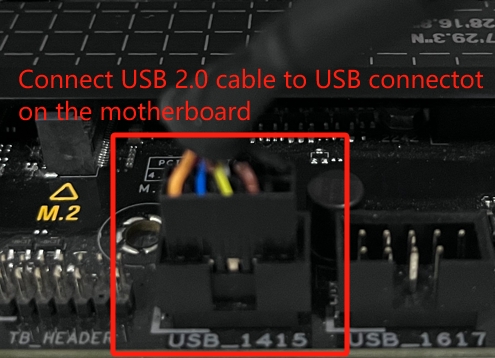
3. Connect the included 10-1 pin USB 2.0 cable to the ThunderboltEX 4 card and the USB 2.0 connector on the motherboard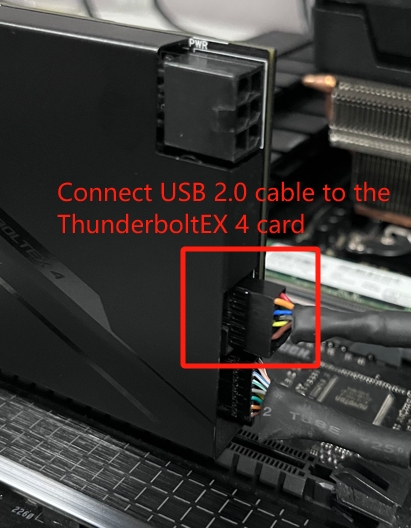
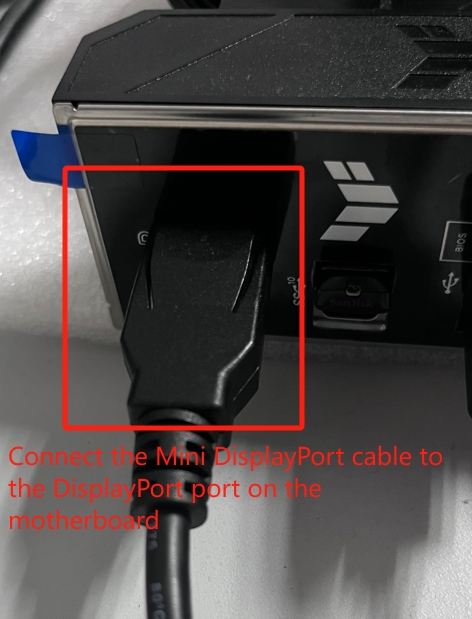
4. If you are using the motherboard on-board display output, connect the Mini DisplayPort cable to the Mini DisplayPort IN_1 port on the ThunderboltEX 4 card and to the DisplayPort port on the motherboard's Back I/O panel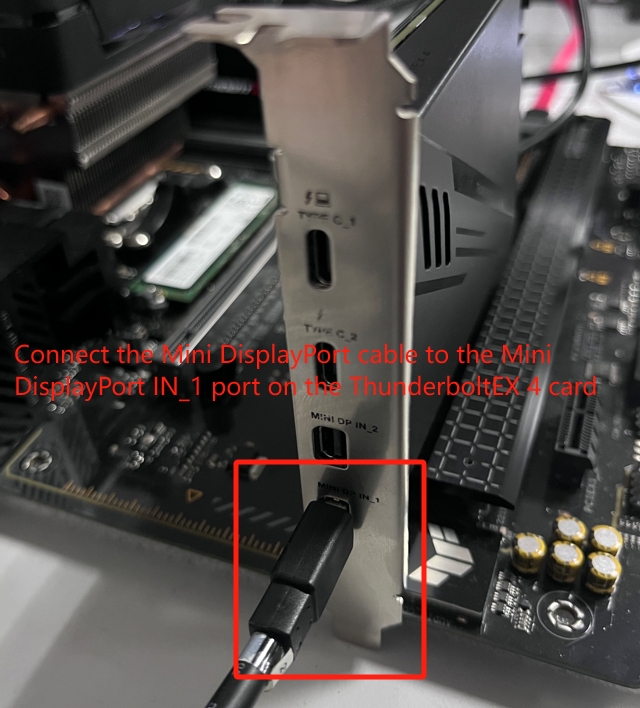
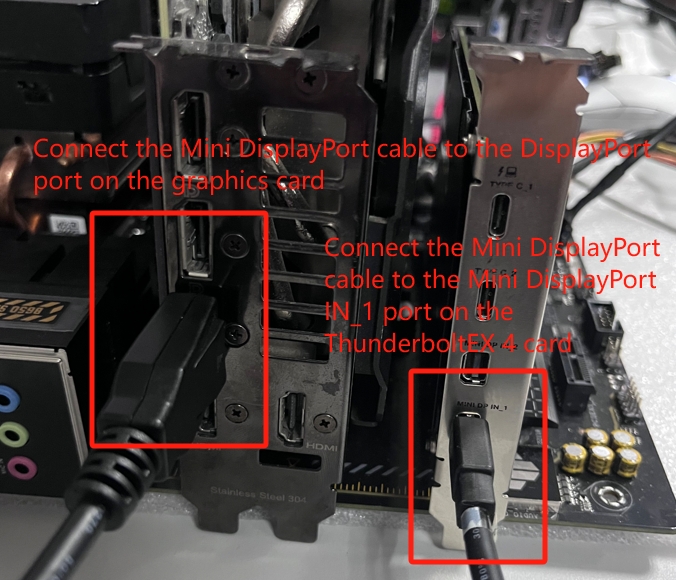
If you are using a discrete graphics card, connect the Mini DisplayPort cable to the Mini DisplayPort IN_1 port on the ThunderboltEX 4 card and the DisplayPort port on the discrete graphics card
5. Connect the power supply 6-pin connector to the 6-pin power slot.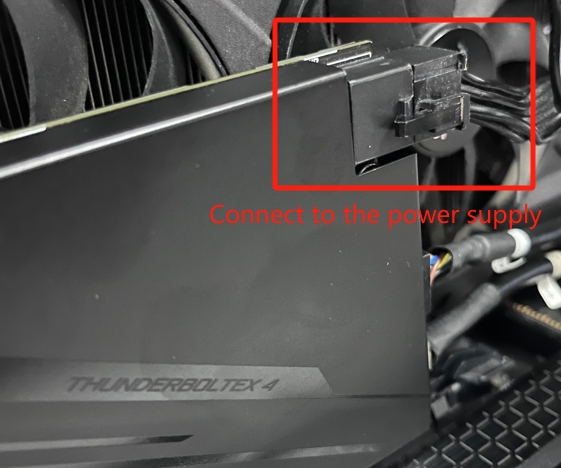
6. After the installation is complete, turn on the computer and press DEL or F2 on the boot screen to enter the BIOS. (For example: ROG STRIX B650E-F GAMING WIFI)
7. Click [Advanced Mode(F7)]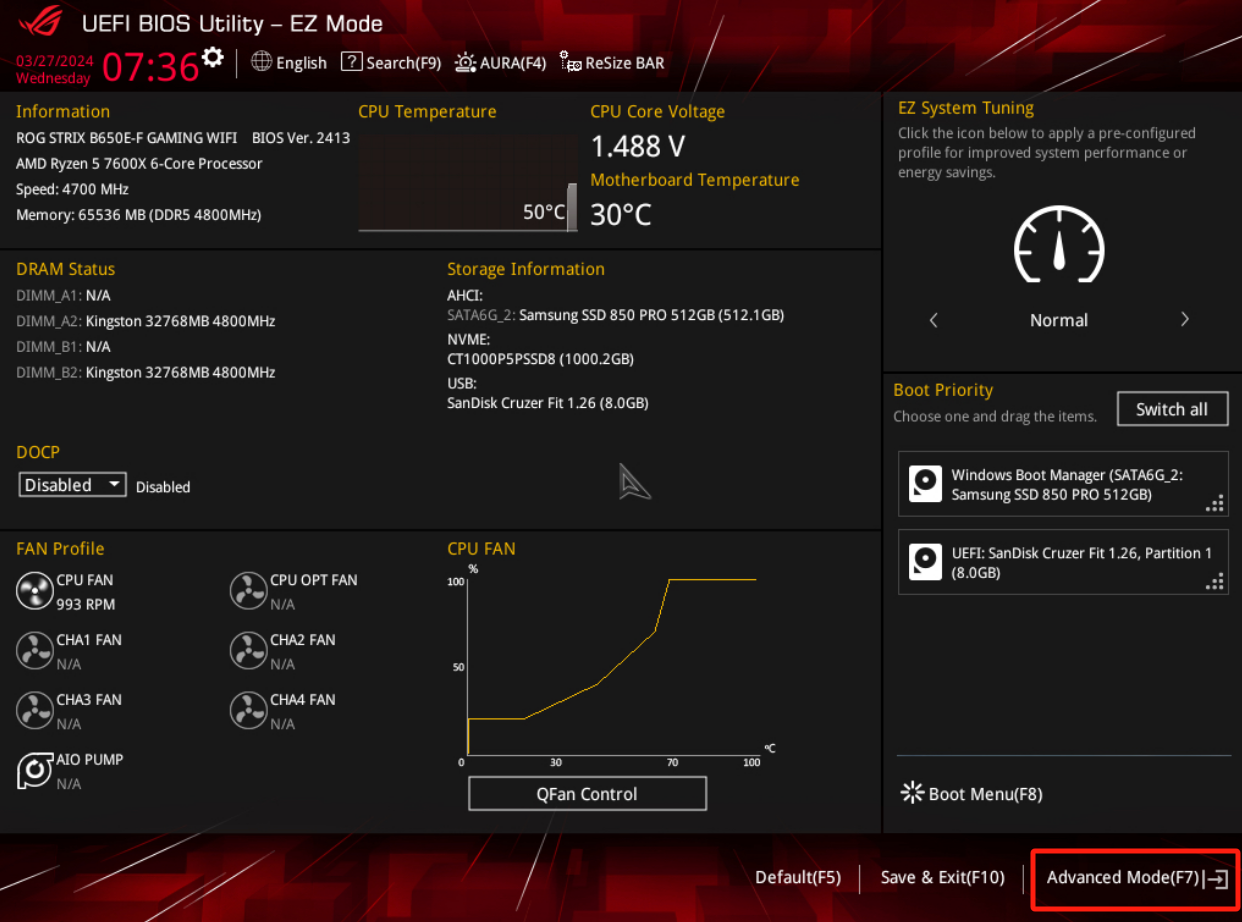
8. Under the [Advanced-AMD PBS] menu, Enabled the [Thunderbolt/USB4 Support] feature.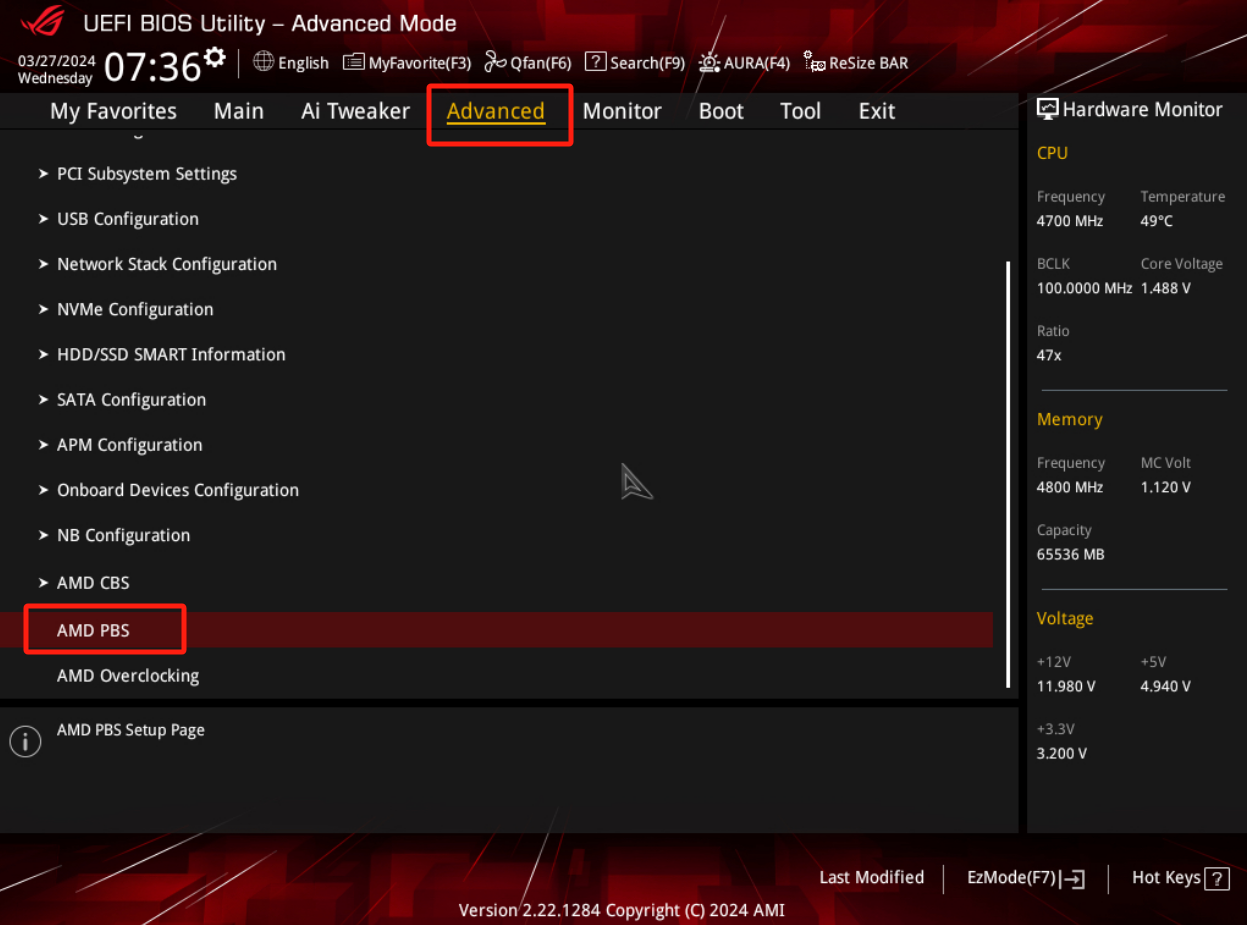
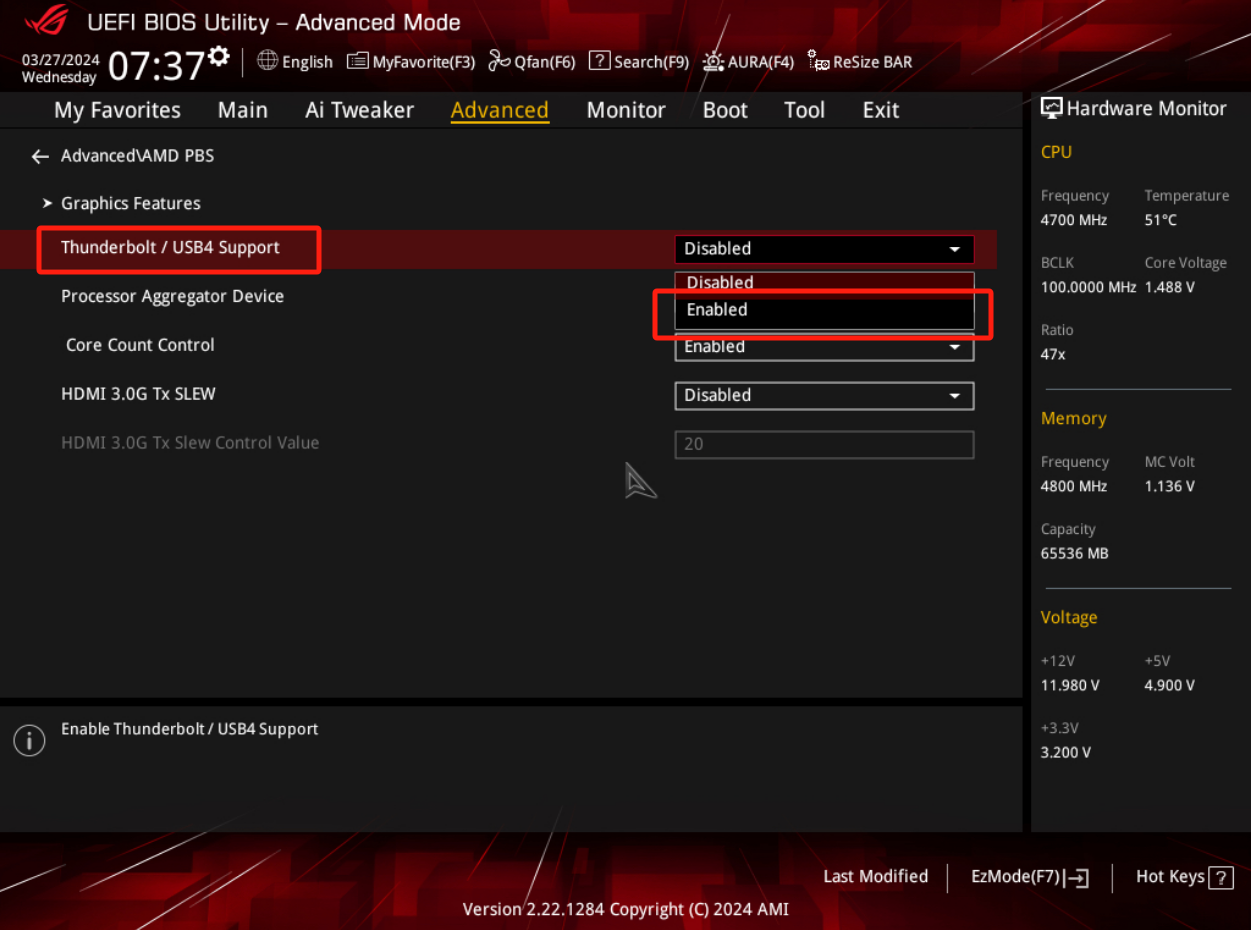
9. Press F10 on the keyboard, click OK, save and restart to complete the setting.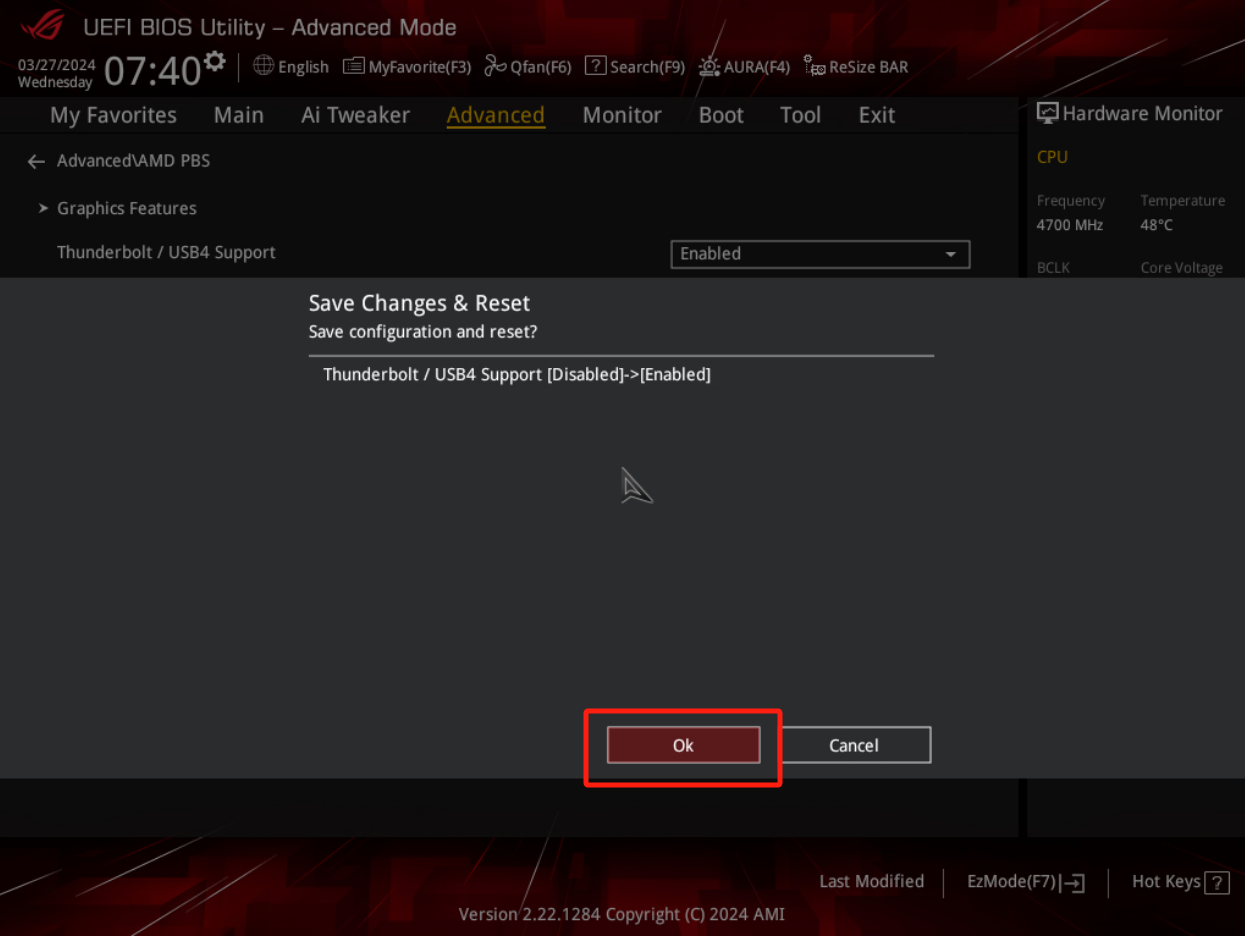
10. After entering the system, go to the ASUS ThunderboltEX 4 website to download the ThunderboltEX 4 driver and install it.
Q&A
Q1. Which model of motherboard support ThunderboltEX 4 Card?
A1. For supported motherboard models, please refer to the ThunderboltEX 4 website and click on [Manuals and Documentation]->[Compatibility]->[ThunderboltEX 4 Card Compatible Model List]
Q2. Why is there no display after connecting my monitor to the ThunderboltEX Card?
A2. Please follow the steps below to check:
Step 1: lease check all the cables are well-connected and plugged.
Step 2: Please check the Thunderbolt function is Enabled in BIOS.
Step 3: Please update your ThunderboltEX 4 card driver to the latest version.
Step 4: If you connect Mini DisplayPort cable to the motherboard, make sure the processor has integrated graphics. If you connect Mini DisplayPort cable to the add-on graphic card, make sure you have installed the graphics driver. For detail please fefer to FAQ:[Graphic Card] How to Update ASUS Graphics Card Drivers?
Step 5: Contact ASUS Service Center if the problem is not resolved.
Q3. How to connect Thunderbolt devices in the daisy chain?
A3. Please follow the diagram below to connect the Thunderbolt devices. Make sure your Thunderbolt device has one Thunderbolt™ IN port and one Thunderbolt™ OUT port and use Thunderbolt™ cable (Not the regular Type-C cable).
Note: Supports up to five daisy-chained Thunderbolt devices.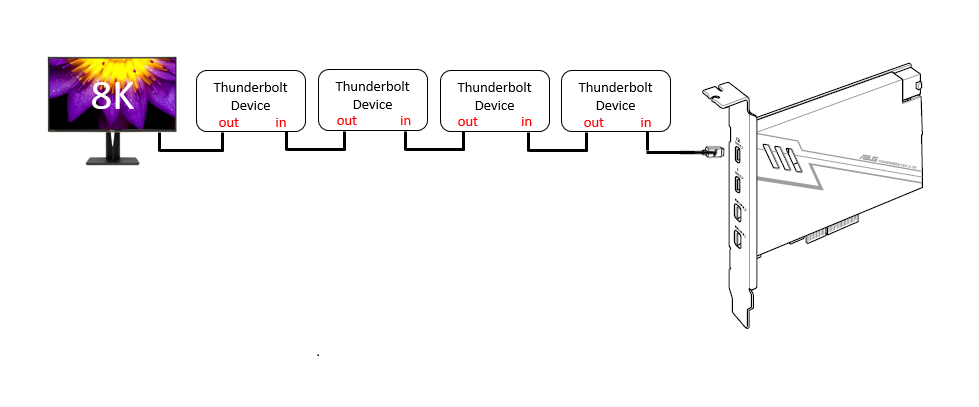
Q4. Is the read/write or transfer speed of the ThunderboltEX 4 connected device slow?
A4. Please update the driver of your ThunderboltEX 4 card to the latest version. If you still have the problem, please make sure that the read/write/transfer speed specification of the device you are using fully supports the speed of ThunderboltEX 4.